DIY Wooden Porch Snowman: Lumber, Tools and Time
A pair of wooden porch snowmen takes three boards, a saw, a jigsaw and a drill, and about an afternoon. Here is what to buy and what to expect before you start.
The lumber
Each snowman is one flat board standing on a block base, so the shopping list is short. These are standard boards that any home center stocks in pine or whitewood.
For the tall and the short snowman together
- One 1×8 board, 8 ft
- One 2×6, at least 30 in
- One 1×2, at least 30 in
- Screws, paint, wood stain, buttons, scarf fabric, pine picks and twine. The full list is in the booklet.
Pick the straightest 1×8 on the rack and sight down its edge before you buy it. A cupped or twisted board is the one thing that is hard to fix later. Knots are fine; paint covers them.
The tools
Tools
- Circular saw, or any saw that makes a straight cut
- Jigsaw
- Drill
- Wood glue, sandpaper and paint brushes
Every board cut is straight. The jigsaw is only for the small curved shapes, which are traced from full-size paper templates, so there is nothing to draw freehand.
How big they are
Finished size
- Tall snowman: 37½ in high
- Short snowman: 29½ in high
- Each base: 10 in wide and 5½ in deep
That is tall enough to read from the street, and each one is a single board on a small base, so they take little room to store.
How long it takes
Plan on an afternoon for cutting, sanding and assembly, plus drying time for paint and stain. The slow part is the paint, so cut everything first and paint all the pieces in one session.
Paint and finish for a porch
- Use exterior paint, or seal craft paint with a clear exterior topcoat.
- Seal the bottom of the base as well. End grain sitting on a damp porch soaks up water first.
- A covered porch is kinder than open weather. Bring them in after the season and they last for years.
The plans
The printable booklet has the shopping list, the cut list, a cutting diagram that fits every part on the boards above, ten illustrated steps and the full-size templates. The same build makes the Porch Snowladies, if you want a set of four.
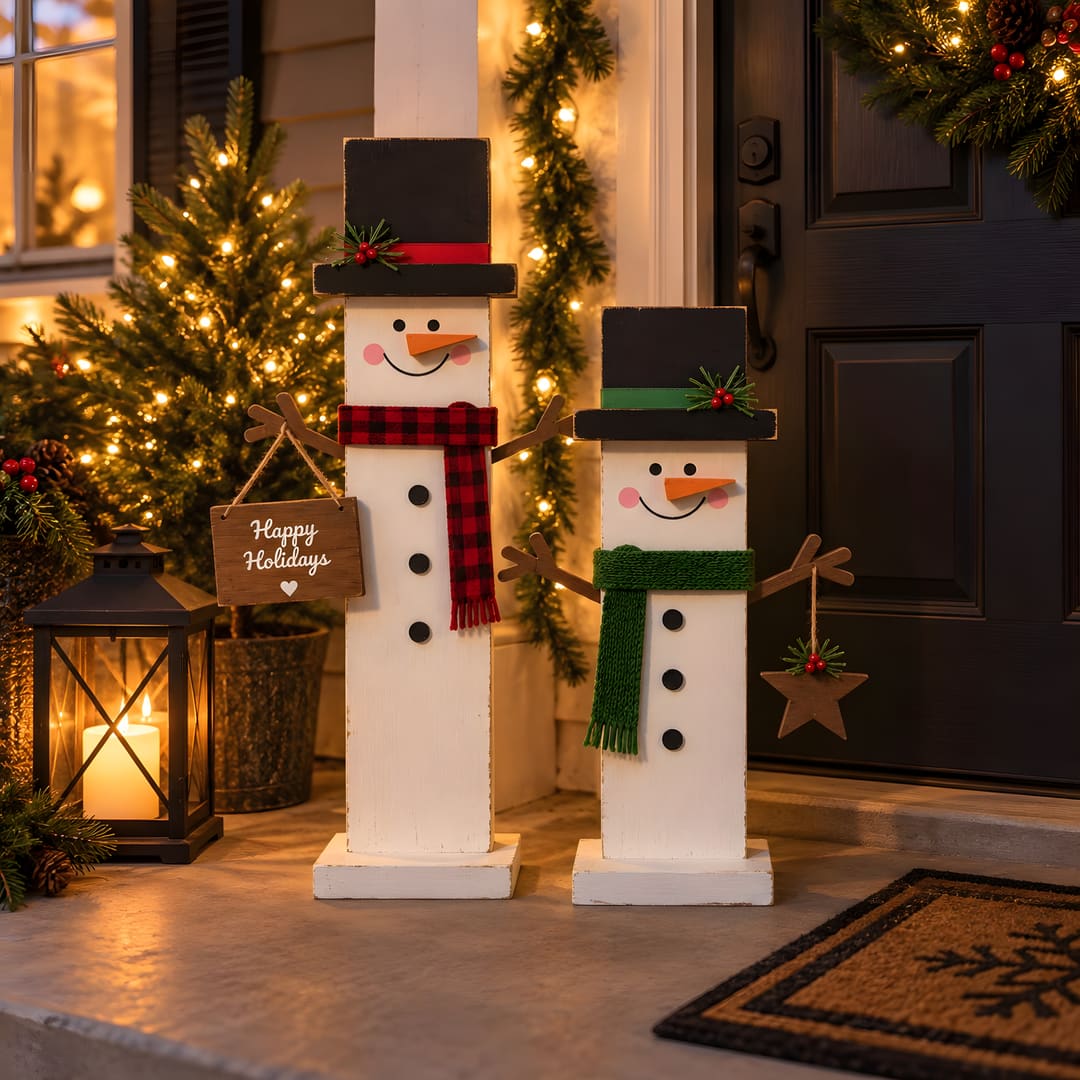
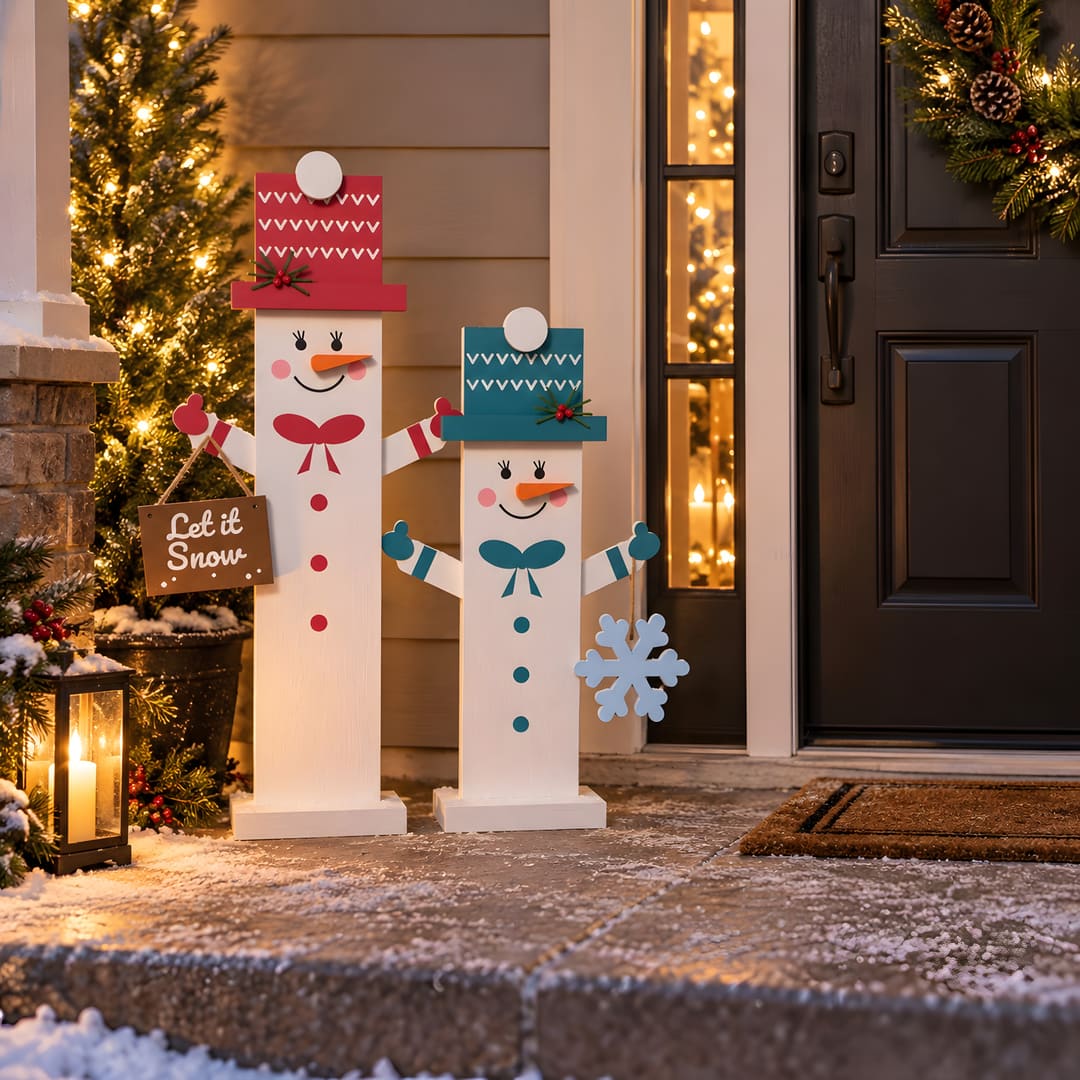
The pictures of finished projects in this shop are rendered previews made from the design; see About.